Pinogy POS MAC OS Installation Guide
- Kathy Lizzama (Unlicensed)
- Download the installation package

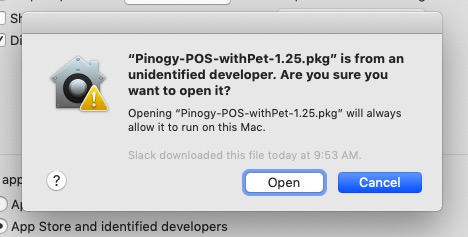
2. After the installation package has been downloaded, double click to start the installation. By default your Mac will only allow installation from Mac sources and developers, so you will have to override the permissions as shown in this image. Click on Open.
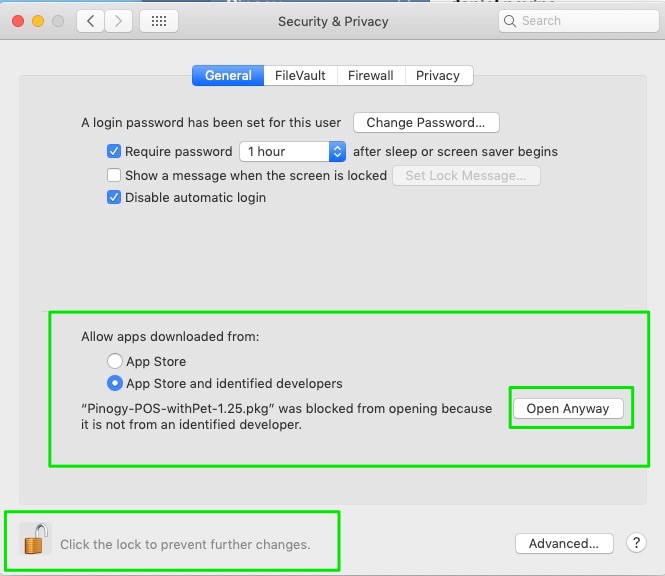
3. In some cases, you will have to manually adjust the settings in your System Preferences to allow the installation to proceed. Under Security and Privacy locate the Allow apps downloaded from: and select Open Anyway when you see the Pinogy - POS installation package listed in the options, as shown on the screen.
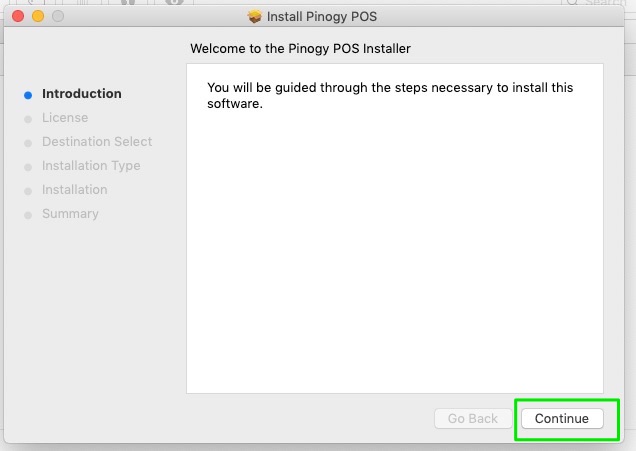
4. The installation window will open. Click on Continue.
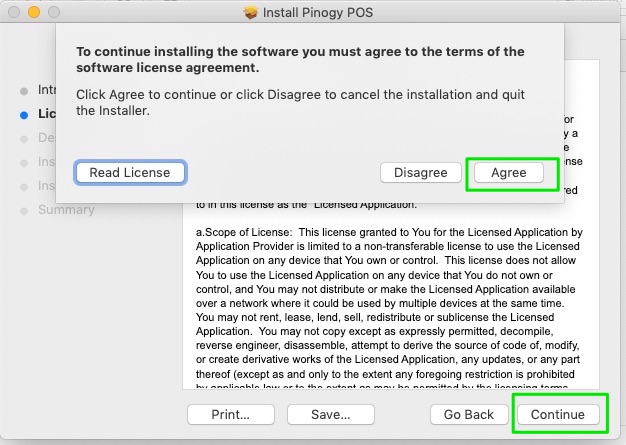
5. Read and accept the terms of the software license agreement. Once you have read and accepted the terms, click on Continue. Always select the main disk to install.
6. Click on Install to proceed to the full installation. The installation will take a couple of minutes. Wait for the wizard to take you to the next screen.

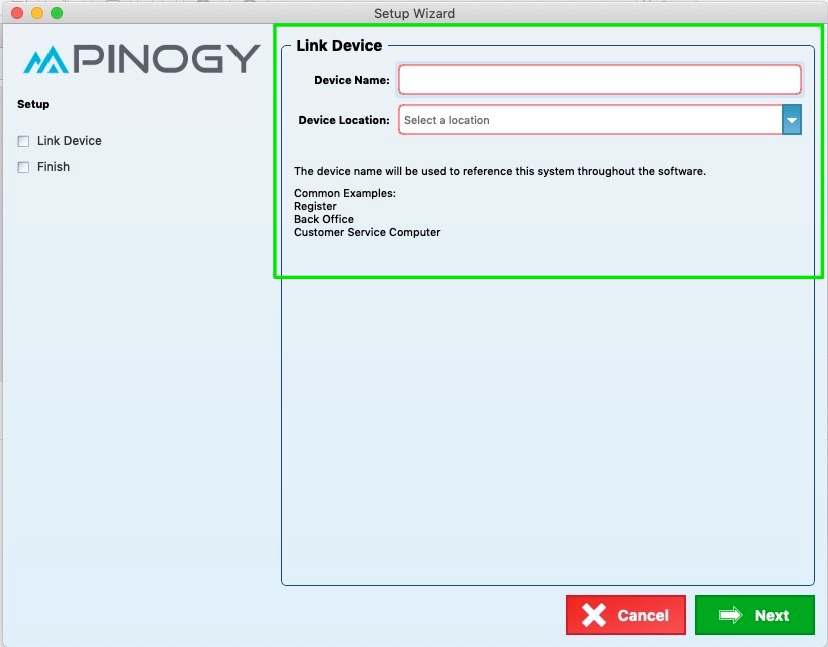
7. The set up wizard window will now appear. Here you will enter your device name, as it will be the used to reference your system throughout the software. Once you have entered your preferred device name, from the Device Location drop down menu bellow the device name, assign the location. The available locations should have already been enabled by us. This gives you access to the Pinogy Database. After you have selected the location your device will have access to, click on Next.
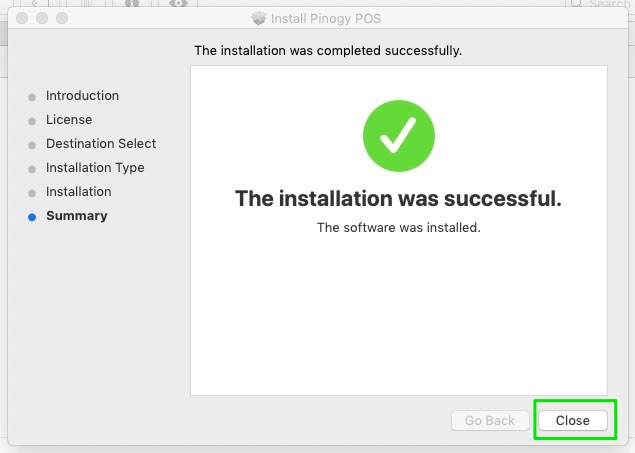
8. At this point, the installation is complete. You will see the success window. Welcome to the Pinogy Family. You can simply Close that window.